Set the Tone for Worldly Tastes in Every Kitchen
Sticky Lemon Chicken Recipe — Easy Asian Style
Healthy Chicken Breast Recipe With Brown Rice And Veggies
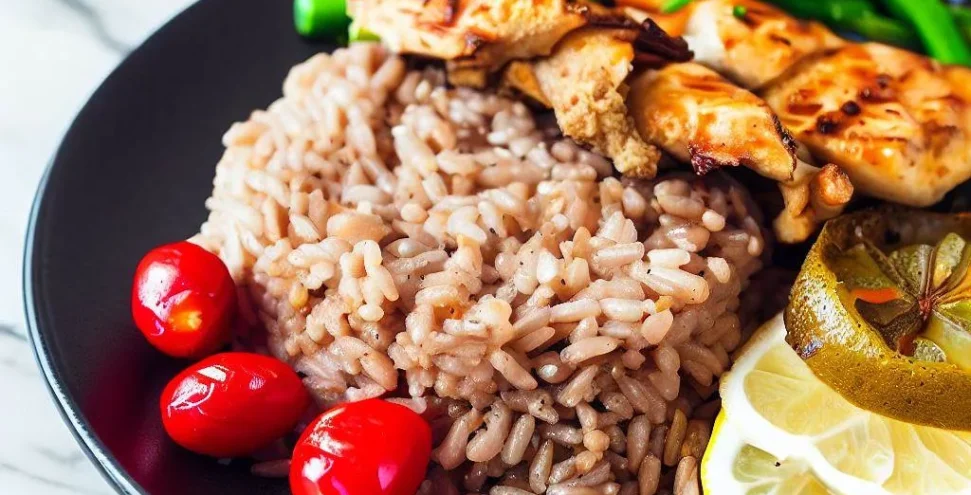
Table of Contents
Lemon chicken has always been one of those dishes I come back to when I want something clean but still satisfying. It’s simple on paper, but when it’s done right, it hits that balance between fresh, sharp, and comforting. This version is exactly that—high in protein, low in calories, but still full of flavor.
I’ve made plenty of heavier versions in the past, but this is the one that actually works day to day. It doesn’t feel like “diet food.” It just feels like good food that happens to be lighter.
What Is It?
This is a lean take on lemon chicken, built around keeping the chicken juicy while layering in fresh acidity and subtle depth. No heavy sauces, no unnecessary fats—just clean ingredients working together.
The result is a dish that feels light but still fills you up properly.
When do I eat this
This is one of those meals that fits into almost any part of the day, depending on what you need. I often make it when I want something quick and reliable after a long day—high in protein, not too heavy, and easy to digest. It works just as well as a post-workout meal when you’re looking to refuel without adding unnecessary calories, or as a clean lunch that won’t slow you down in the afternoon.
It’s also a go-to when I’m trying to stay consistent with eating well. It doesn’t feel restrictive, so it’s easier to come back to regularly. Whether you’re focusing on nutrition, trying to keep meals lighter, or just want something fresh and balanced, this fits naturally without needing to overthink it.
The Process
The key here is not overcomplicating things. The chicken needs to stay juicy, and the lemon needs to stay fresh—not cooked out or dulled down.
It’s a quick cook, but controlled. You build flavor in layers rather than relying on heavy sauces.
Step-by-Step Instructions
Step 1 — Prep the Chicken
I start by patting the chicken dry and seasoning it well. This is where the base flavor comes from, so don’t rush it.
Step 2 — Build the Flavor
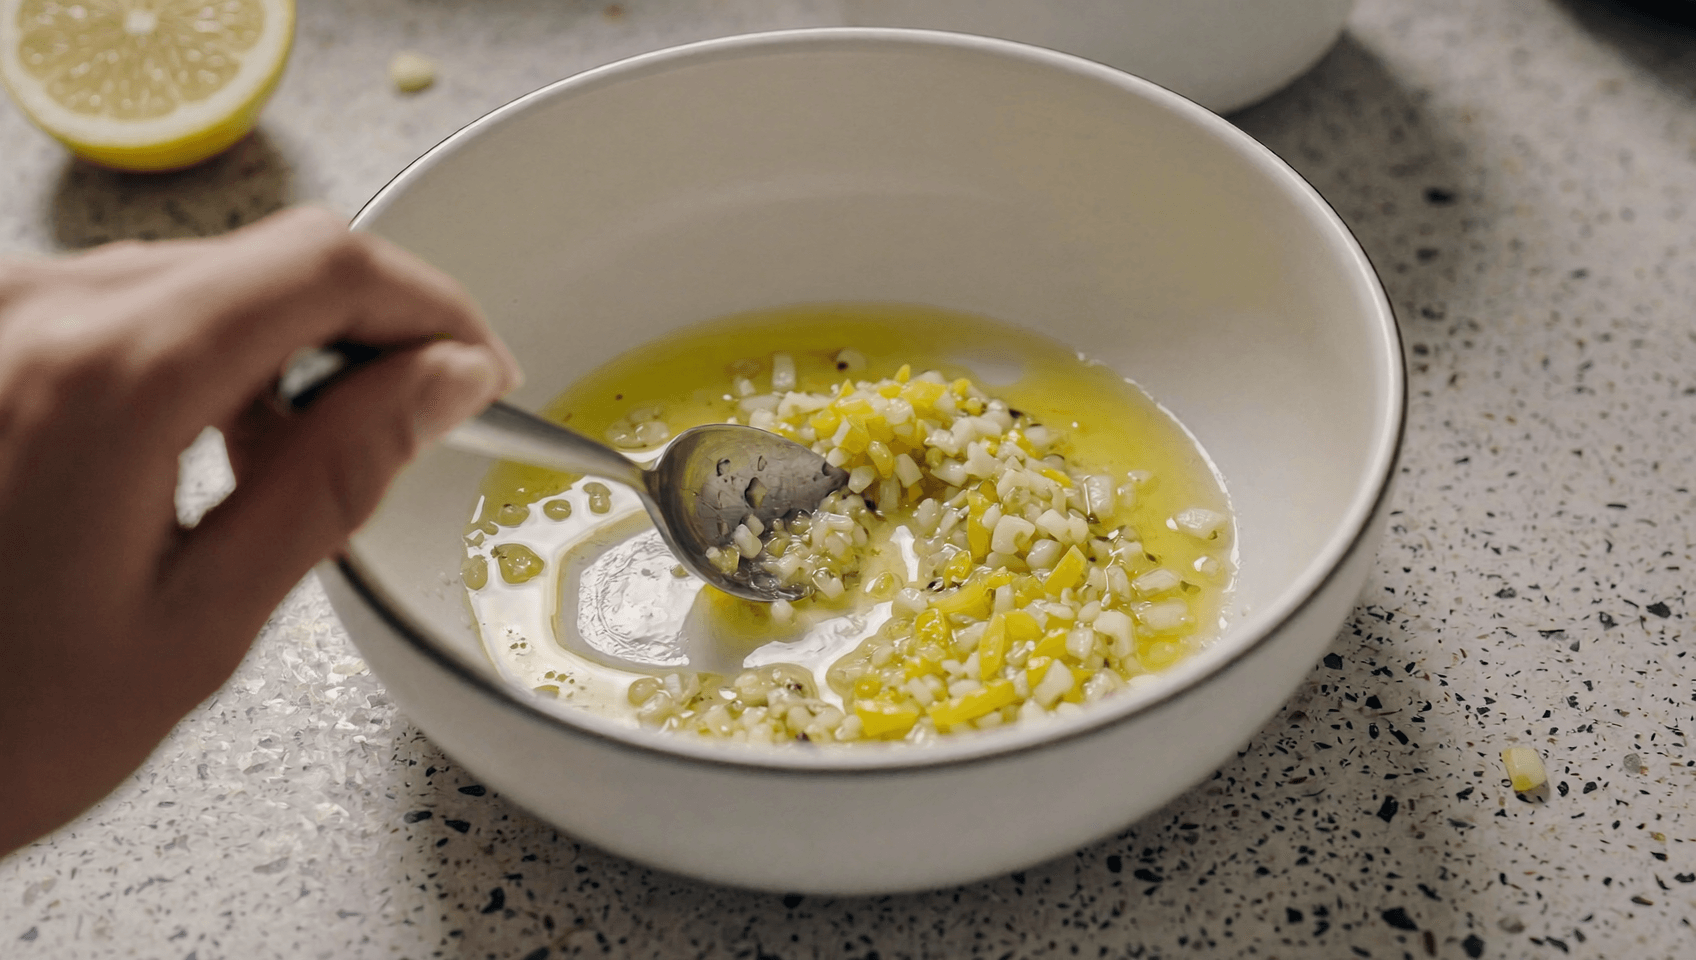
In a bowl, I mix lemon juice, zest, garlic, and a small amount of olive oil. This isn’t a heavy marinade—it’s just enough to coat and infuse.
Step 3 — Sear the Chicken
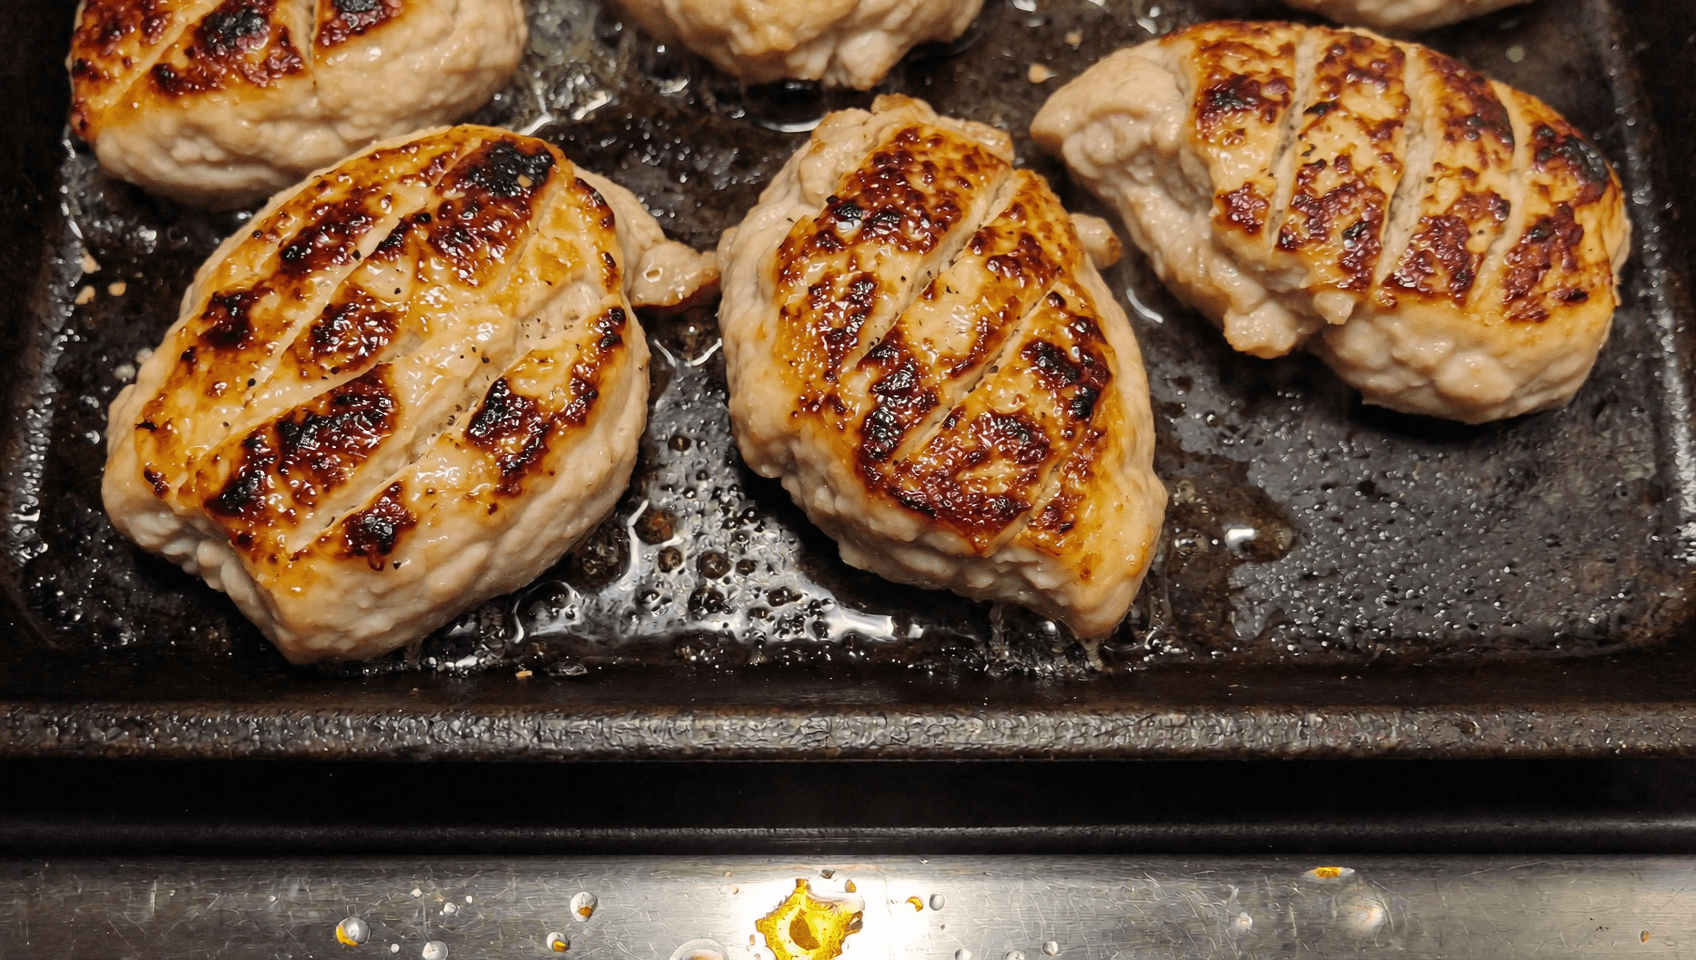
Into a hot pan, the chicken goes. I leave it alone long enough to get a proper golden crust before flipping. That color is where a lot of the flavor comes from.
Step 4 — Finish Gently
Once both sides are cooked, I lower the heat and let it finish through without drying out. The goal is juicy, not overcooked.
Step 5 — Add the Lemon
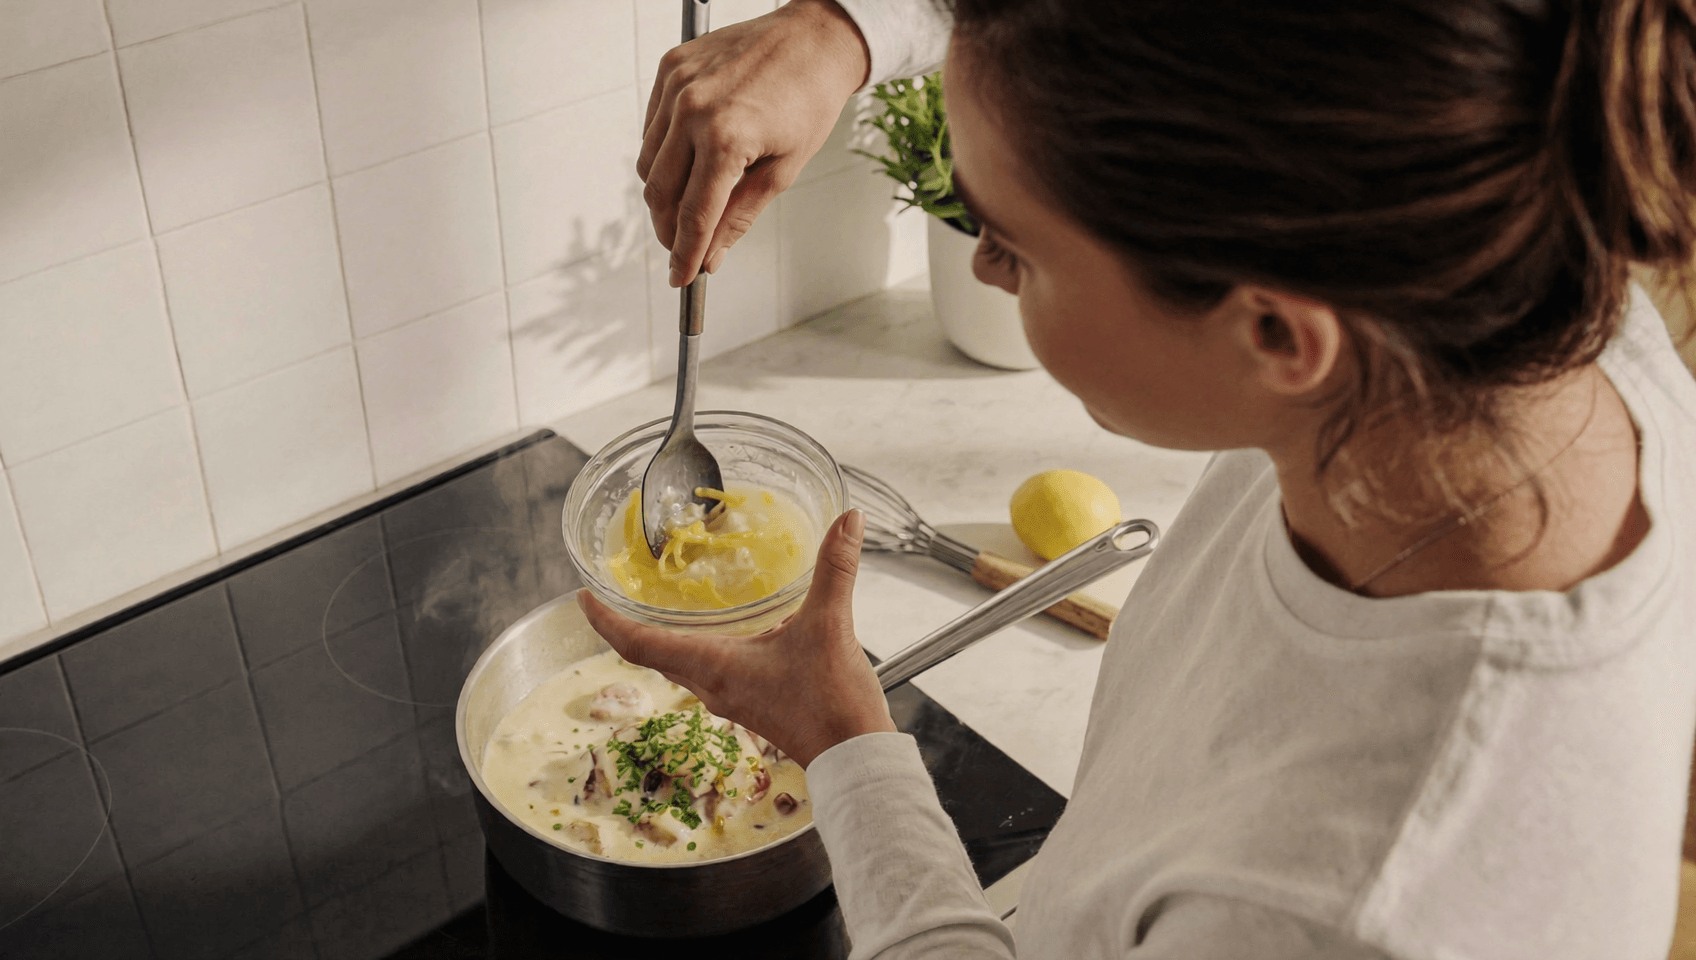
I add the lemon mixture toward the end so it stays fresh and sharp rather than bitter or flat.
Step 6 — Rest
I always let the chicken rest for a few minutes. It makes a difference—the juices settle and the texture improves.
Serving
I usually keep it simple. This works perfectly with something light on the side—greens, roasted vegetables, or even just a clean salad.
If I want to push it slightly further, I’ll add something like rice or potatoes, but the chicken itself already carries the dish.
Storing
This dish stores well, which makes it practical beyond just eating it fresh. Once cooled, I keep it in an airtight container in the fridge for up to 2–3 days. The flavor actually settles a bit over time, and the lemon and garlic continue to develop, which can make it even better the next day.
When reheating, I avoid high heat to keep the chicken from drying out. A gentle warm-up in a pan or a low setting in the microwave works best. If needed, I’ll add a small splash of water or extra lemon juice to bring back some moisture. It’s also perfectly fine eaten cold, sliced into salads or wraps, which makes it a flexible option for meal prep.
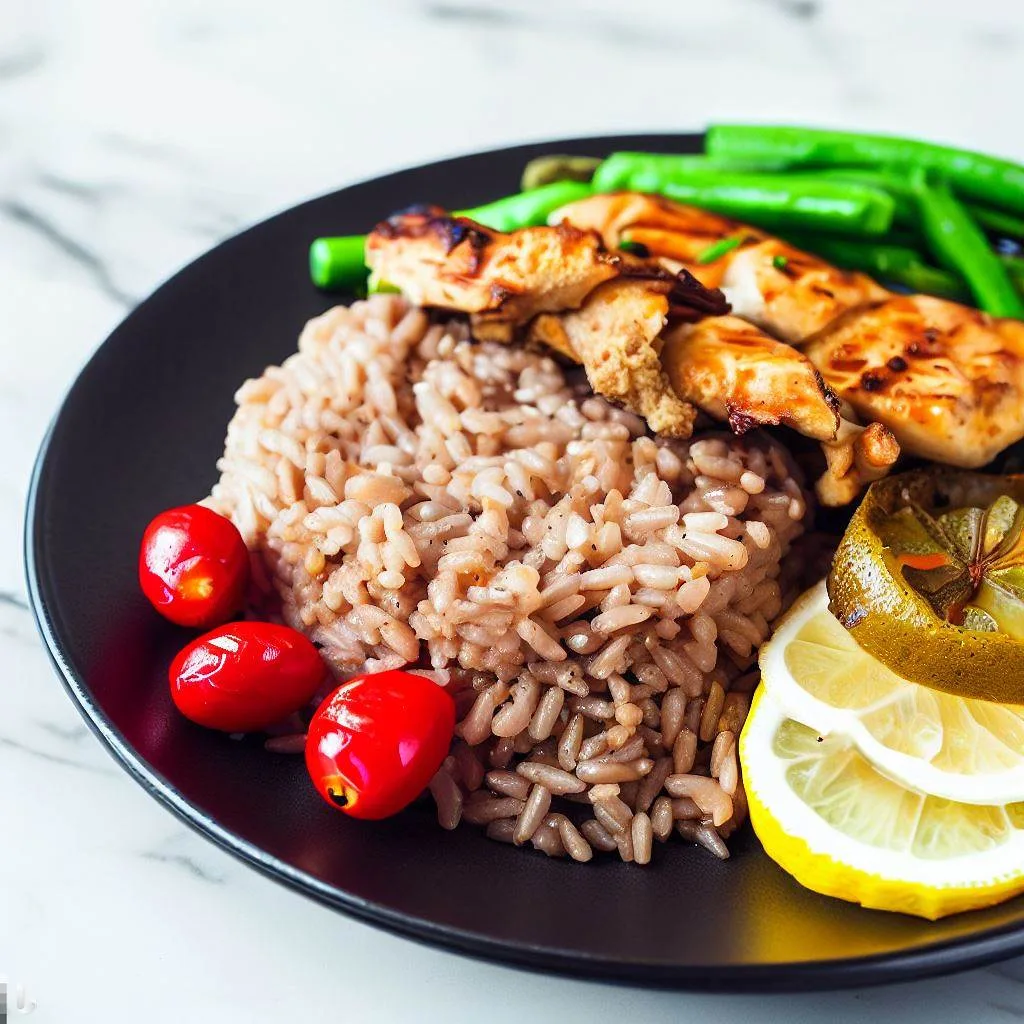
Lemon Chicken Large
Lemon Chicken Served with Fragrant Brown Rice and Veggies
Share Recipe
Pin
RateServings: 1
Calories: 578kcal
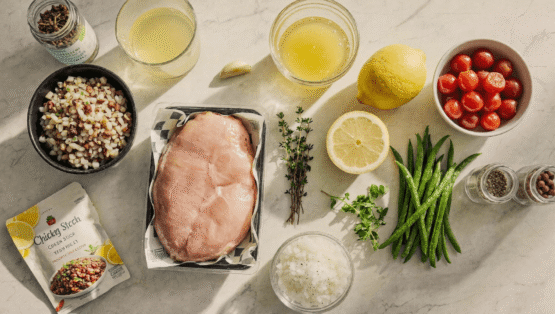
Ingredients
- Lemon chicken
- 176 gr Chicken breast
- 1 gr Garlic
- 36 gr lemon Juice and whole
- 1 gr Thyme Dried or fresh
- Salt & pepper To taste
- 86 gr Brown rice
- 65 gr Green beans
- 65 gr Cherry tomatoes
- 70 gr Courgette
- Lemon sauce
- 102 gr Chicken stock Dried or fresh if using fresh stock 100gr
- 22 gr Lemon juice
- 30 gr Thyme Dried or fresh
- 2 gr Garlic Mince
- 10 gr Corn starch
- 20 gr White onion Diced
- Salt & Pepper To taste
Instructions
- Preheat oven to 375°F (190°C).
- In a large bowl, mix green beans, cherry tomatoes, courgette, olive oil, lemon juice, salt and pepper.
- Place vegetables on a baking sheet and roast for 10 to 15 mins or until tender and golden brown
- Cook the rice in a pan with boiling water or rice cooker. Using the instructions on the rice package for cook time.
- In a large bowl, mix chicken breasts, minced garlic cloves, lemon juice, fresh thyme leaves, tsp salt, and white pepper.
- In a large skillet, heat oil over medium-high heat. Add marinated chicken and cook 6-8 mins per side or until cooked through and reaches a temperature of 70-75 degrees. Remove chicken and set aside.
- Alternatively place the chicken on a baking dish and bake for 25-30 minutes or until chicken is cooked through and reaches a temperature of 70-75 degrees.
- Place a pan on high heat and add olive oil, diced onions, thyme, and garlic. Once softened, add water and chicken bouillon, bring to a boil. Mix corn starch and water in a small bowl or a cup add to pan and cook for 5 mins. Add lemon juice, blend until smooth and remove from heat.
- Serve chicken and sauce over rice and top with roasted vegetables. Garnish with chopped parsley and lemon.
Notes
If you are cooking for multiple portions you will have to plate (or box)
each portion with the following weights: Lemon Chicken - 130 gr Brown Rice - 240 gr Roasted veg - 150 gr Lemon sauce - 140 gr Parsley Lemon wedgeNutrition
Serving: 672g | Calories: 578kcal | Carbohydrates: 83g | Protein: 44g | Fat: 14g | Saturated Fat: 1.4g | Sodium: 2.7mg | Sugar: 7.9g
Product We Use
to make our cooking experience better